After its initial release on May 29, 2013, React.js has taken over the internet. It’s not a secret that myself and many other developers owe their success to this amazing framework.
With Medium so full of React.js tutorials, I wish one of them told me these tips when I started.
Don’t need .bind(this) when using arrow function
Usually, you will have something like this when you have a controlled component:
class Foo extends React.Component{
  constructor( props ){
    super( props );
    this.handleClick = this.handleClick.bind(this);
  }
  handleClick(event){
    // your event handling logic
  }
  render(){
    return (
      <button type="button"
      onClick={this.handleClick}>
      Click Me
      </button>
    );
  }
}
You write .bind(this) to every method that exists, because most tutorials tell you to do so. If you have several controlled components, you will end up with a fat stack of codes in your constructor(){}.
Instead, you can:
class Foo extends React.Component{
  handleClick = (event) => {
    // your event handling logic
  }
  render(){
    return (
      <button type="button"
      onClick={this.handleClick}>
        Click Me
      </button>
    );
  }
}
How?
ES6’s arrow function uses Lexical Scoping, which lets the method access the this of where it’s triggered.
When service workers work against you
Service workers are great for a progressive web app, which allows for offline access and optimizes for users with poor internet connections.
But when you’re not aware that the service worker is caching your static files, you deploy your hot-fixes repeatedly.
Only to find your site is not updating. ????
Don’t panic, make sure in your src/index.js:
// Make sure it's set to unregister
serviceWorker.unregister();
As of version 16.8, this line should be serverWorker.unregister() by default.
But if they decide to change again, you’ll know where to look.
99% of the time you don’t need to eject
Create React App offers an option to yarn eject your project to customize your build process.
I remember trying to customize the build process to have SVG images automatically inlined in our code. I spent hours just trying to understand the build process. We end up having an import file that injects SVG tags, and we increased the site’s loading speed by 0.0001 milliseconds.
Ejecting your React project is like popping the hood of your running car and changing the engine on the fly to run 1% faster.
Of course, if you’re already a Webpack master, it’s worthwhile to customize the build process to tailor the project’s needs.
When you’re trying to deliver on time, focus your effort on where it moves the needle forward.
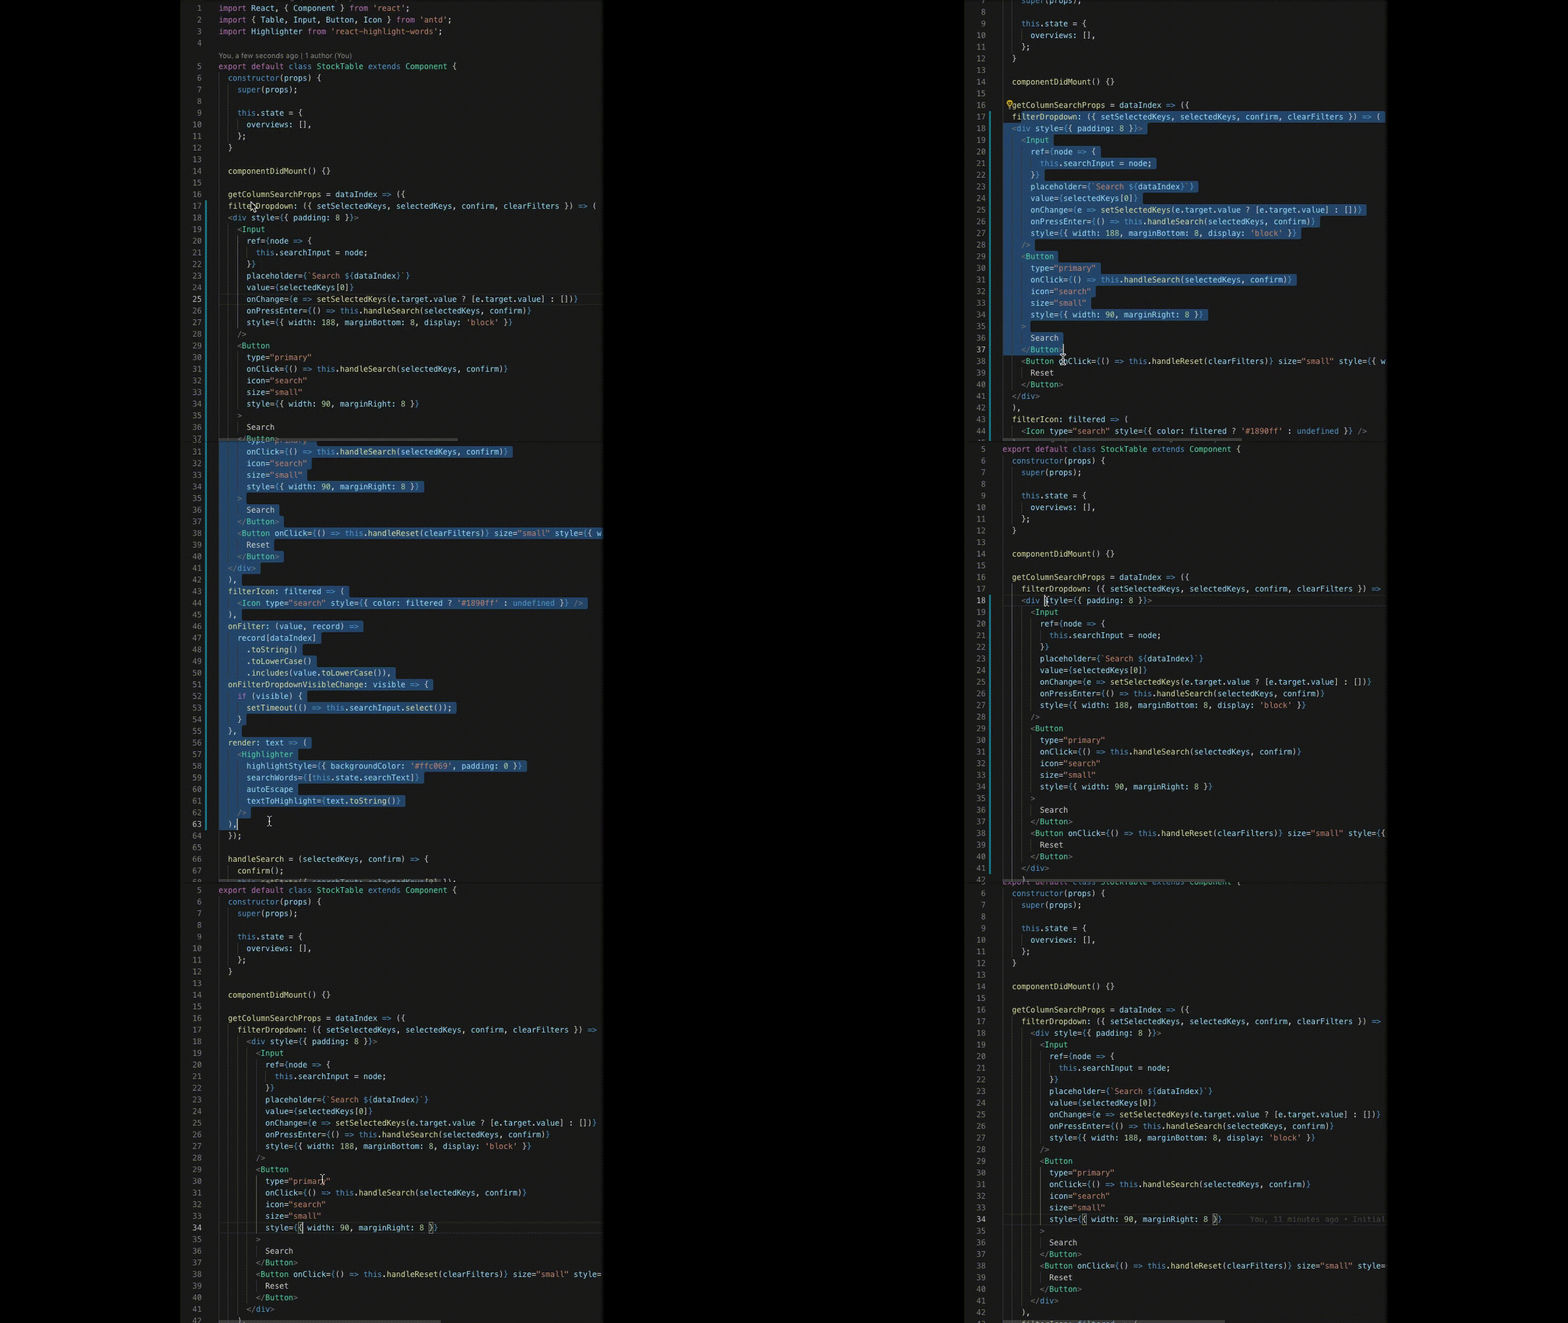
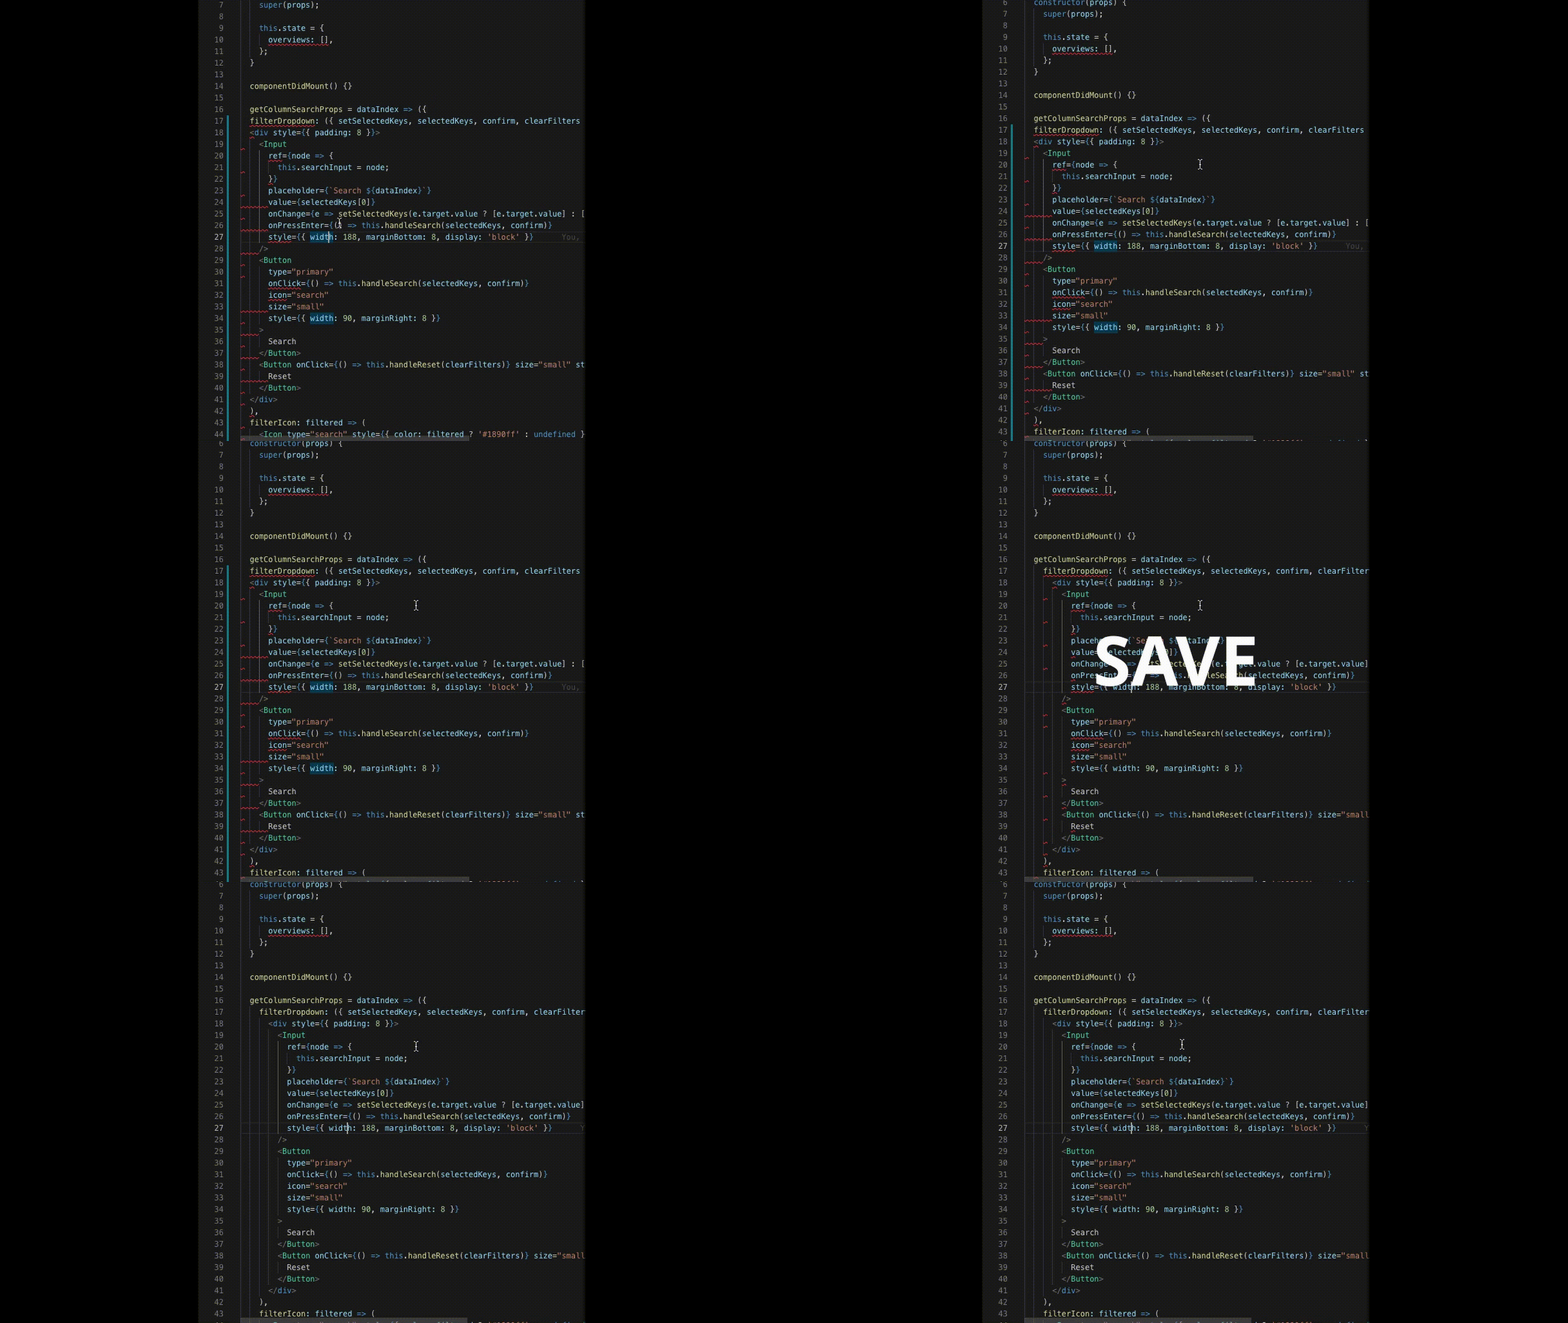
ESlint Auto Fix On Save saves so much time
You might have copied some code from somewhere that has out of whack formatting. Because you can’t stand how ugly it looks, you spend time manually adding spaces.


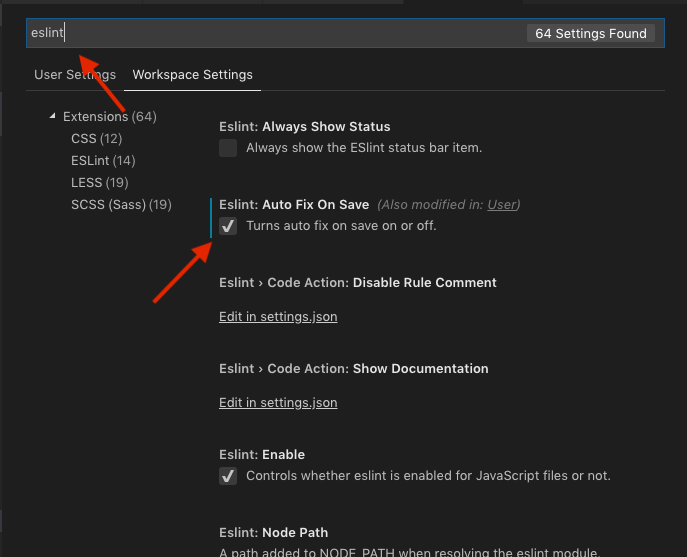
With ESLint and Visual Studio Code Plugin, it can fix it for you on save.


How?
- In your package.json, add some dev dependencies and do npm i or yarn:
"devDependencies": {
"eslint-config-airbnb": "^17.1.0",
"eslint-config-prettier": "^3.1.0",
"eslint-plugin-import": "^2.14.0",
"eslint-plugin-jsx-a11y": "^6.1.1",
"eslint-plugin-prettier": "^3.0.0",
"eslint-plugin-react": "^7.11.0"
}
2. Install ESLint extension

3. Enable Auto Fix On Save

You don’t need Redux, styled-components, etc…
Every tool has its purpose. That being said, it’s good to know about the different tools.
If all you have is a hammer, everything looks like a nail — Abraham Maslow
You need to think about the setup time for some of the libraries you use and compare it to:
- What’s the problem that I am trying to solve?
- Will this project live long enough to benefit from this library?
- Does React already offer something right out of the box?
With Context and Hooks available for React now, do you still need Redux?
I do highly recommend Redux Offline for when your users are in a poor internet connection environment.
Reuse event handler
If you don’t feel like typing the same thing over and over again, reusing an event handler could be an option:
class App extends Component {
 constructor(props) {
  super(props);
  this.state = {
   foo: "",
   bar: "",
  };
 }
 // Reusable for all inputs
 onChange = e => {
  const {
   target: { value, name },
  } = e;

  // name will be the state name
  this.setState({
   [name]: value
  });
 };

 render() {
  return (
   <div>
    <input name="foo" onChange={this.onChange} />
    <input name="bar" onChange={this.onChange} />
   </div>
  );
 }
}
setState is asynchronous
The naïve me would write something like:
 constructor(props) {
  super(props);
  this.state = {
   isFiltered: false
  };
 }
 toggleFilter = () => {
  this.setState({
   isFiltered: !this.state.isFiltered
  });
  this.filterData();
 };

 filterData = () => {
  // this.state.isFiltered should be true, but it's not
  if (this.state.isFiltered) {
   // Do some filtering
  }
 };
Option 1: Passing the state down
toggleFilter = () => {
 const currentFilterState = !this.state.isFiltered;
 this.setState({
  isFiltered: currentFilterState
 });
 this.filterData(currentFilterState);
};
filterData = (currentFilterState) => {
 if (currentFilterState) {
  // Do some filtering
 }
};
Option 2: The secondary function to the callback of setState
toggleFilter = () => {
 this.setState((prevState) => ({
  isFiltered: !prevState.isFiltered
 }), () => {
  this.filterData();
 });
};
filterData = () => {
  if (this.state.isFiltered) {
   // Do some filtering
  }
};
Conclusion
These tips saved me a lot of time, and I am sure there are more. Please feel free to share them in the comments section.
If you are looking to integrate your website with WeChat and reach 1+ billion users in China, sign up for a free glossary for commonly used WeChat terms.
@Credits: Medium - Freecodecamp


